Many South East London gardens deserve more than guesswork when it comes to shaping their beauty. For discerning homeowners, the key to a thriving, luxurious outdoor space is a thoughtful approach that blends elegance with responsibility. Before making a single cut, understanding each plant’s unique needs ensures your garden remains both healthy and stylish with minimal effort. Discover how a precise, eco-friendly assessment forms the foundation of effortless, high-end pruning and leaves every corner of your garden looking its best.
Table of Contents
- Step 1: Assess Garden Plants For Pruning Needs
- Step 2: Select And Prepare Sustainable Pruning Tools
- Step 3: Execute Precise Pruning For Healthy Growth
- Step 4: Review And Refine Pruning Outcomes
Quick Summary
| Important Insight | Explanation |
|---|---|
| 1. Assess each plant’s pruning needs | Identify plant type, age, and health before pruning to ensure appropriate cuts. |
| 2. Use sharp, clean tools | Well-maintained, sharp tools help make clean cuts, preventing disease entry. |
| 3. Prioritise removing unhealthy branches | Focus on dead, diseased, and damaged branches first to promote plant recovery. |
| 4. Observe plant responses post-pruning | Monitor for new growth and overall health to refine future pruning strategies. |
| 5. Document pruning actions for future reference | Keep a garden notebook on pruning practices to develop a tailored approach over time. |
Step 1: Assess garden plants for pruning needs
Before making a single cut, you need to understand what each plant actually needs. Assessment is where most people get pruning wrong—they grab shears and start hacking away without a proper plan.
Start by identifying each plant type in your garden. Evergreens, deciduous shrubs, flowering plants, and climbers all have different pruning requirements. Understanding tree biology and growth processes will help you make informed decisions about where and when to cut.
Assess these key factors:
- Plant type and age—is it mature, young, or overgrown?
- Flowering time—when does it bloom, and will pruning disrupt this?
- Current health—are there signs of disease, damage, or dead wood?
- Growth habit—does it naturally sprawl, grow upright, or climb?
- Your goal—do you want to restrict size, improve shape, or boost flowering?
Look closely at each plant. Dead or diseased branches are obvious candidates for removal—they appear blackened, brittle, or show signs of pest damage. Crossing branches that rub together also need attention, as they create wounds.
Next, assess the plant’s vigour. A healthy, vigorous plant can handle more aggressive pruning than a weak one struggling with poor soil or shade. Weak plants benefit from lighter pruning that removes only dead material and improves air circulation.
Consider the reasons you’re actually pruning. Are you restricting size to maintain your garden’s aesthetic? Improving flower or berry production? Removing unsightly growth? Each reason changes your approach. When planning seasonal garden care for your outdoor space, timing your pruning correctly ensures maximum benefit.
Assessment prevents costly mistakes—identify what needs pruning before you commit to cuts that can’t be undone.
Pro tip: Take photos of each plant from multiple angles before pruning, then compare them afterwards to see the transformation and learn how your plants respond to your cutting approach.
Step 2: Select and prepare sustainable pruning tools
The right tools make pruning faster, safer, and kinder to your plants. Dull or dirty equipment causes damage that invites disease and slows healing.
Invest in quality, durable tools you’ll use for years. By-pass secateurs are your workhorse for branches up to roughly 10 millimetres thick. Anvil secateurs work differently but tend to crush rather than cut cleanly. Pruning saws handle thicker wood, and loppers give you extra leverage for branches between 10 and 25 millimetres.
Choose tools based on these criteria:
- By-pass secateurs for precise cuts on thin branches
- Pruning saws for thicker wood and awkward angles
- Loppers for extended reach without straining
- Hedge shears for formal shapes and dense growth
- Folding saws for portability and tough jobs
Sharpness is non-negotiable. Sharp, well-maintained tools reduce plant damage by making clean cuts that heal quickly. Blunt blades crush tissue, creating entry points for disease and pests. Test your secateurs on a piece of paper—they should cut cleanly without dragging.
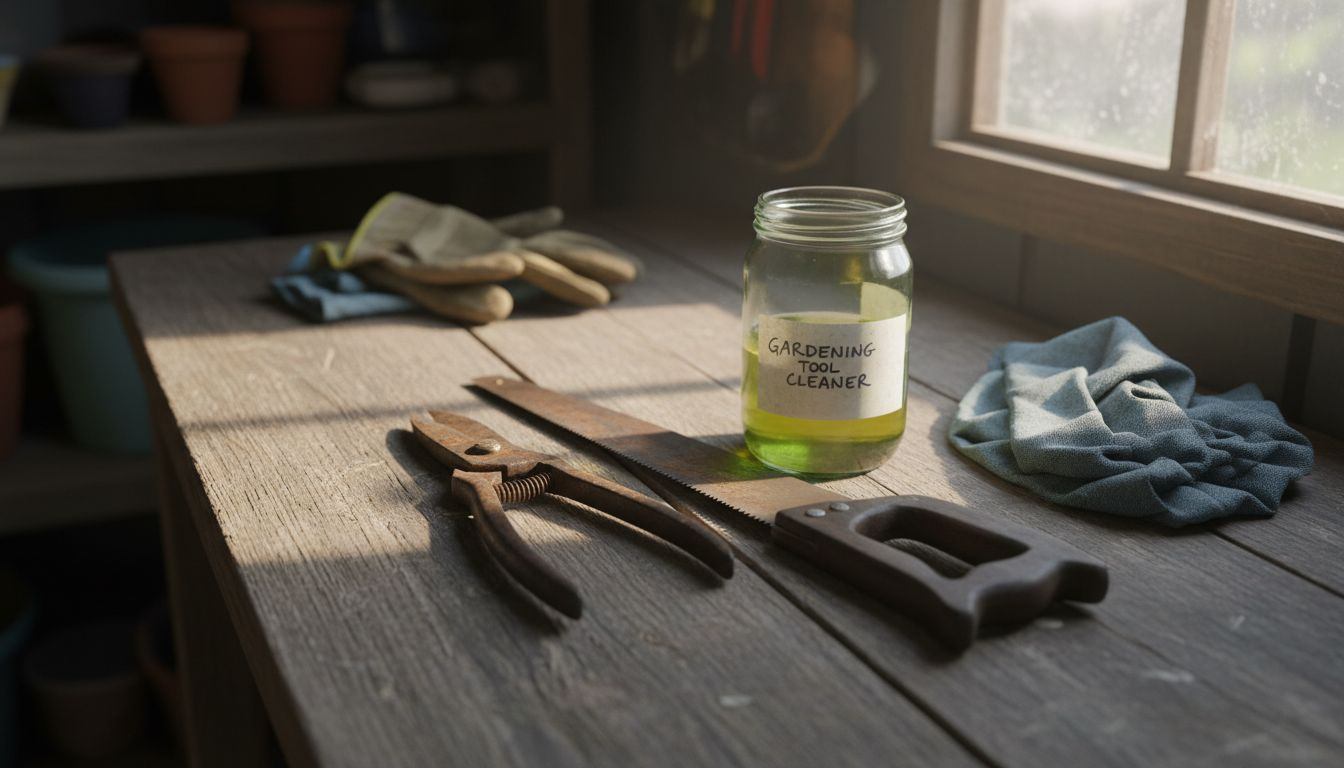
Cleanliness prevents disease spread between plants. Before each gardening session, wipe blades with a disinfectant solution. Pay particular attention after cutting diseased branches. This simple habit stops you accidentally transferring pathogens like canker or rose rosette virus from one plant to another.
Sustainability matters. High-quality metal tools last decades with proper care, whereas cheap plastic handles break and end up in landfill. Look for brands offering blade replacements and repair services rather than full tool replacement.
At the end of each day, clean blades thoroughly and dry them completely. Store tools in a dry place to prevent rust. Oil wooden handles occasionally to keep them supple and crack-resistant.
Here’s a quick reference guide for pruning tool selection and sustainability impact:
| Tool Type | Best Use | Longevity & Sustainability | Maintenance Tips |
|---|---|---|---|
| By-pass secateurs | Precise cuts on small stems | Last decades if cared for | Sharpen regularly, oil pivots |
| Loppers | Thicker branches 10-25mm | Replaceable blades extend lifespan | Store dry, clean after use |
| Pruning saw | Large or awkward wood removal | Durable steel, minimal waste | Wipe blades, prevent rust |
| Hedge shears | Formal hedge shaping | Robust steel lasts years | Sharpen, tighten joints |
| Folding saw | Portable heavy-duty pruning | Compact, often repairable | Clean, lubricate locking hinge |
Sharp tools and clean equipment are the foundation of healthy, disease-free pruning that respects your garden’s long-term wellbeing.
Pro tip: Keep a small bottle of disinfectant spray in your tool kit and wipe your secateurs between cuts when moving between plants, especially if you notice any signs of disease.
Step 3: Execute precise pruning for healthy growth
Now comes the actual cutting. Precision matters far more than speed—each cut either promotes recovery or invites disease.
Start by removing the obvious problem branches. Dead wood is brittle and grey or black. Diseased branches show cankers, oozing sap, or discoloured foliage. Broken or damaged limbs should go. These cuts are straightforward and universally beneficial.
Prioritise removal in this order:
- Dead, diseased, or damaged branches
- Crossing or rubbing branches that create wounds
- Growth pointing inward towards the centre
- Weak or spindly shoots competing for space
- Any branches creating an unbalanced silhouette
When making cuts, observe the plant’s natural form and work with its existing structure rather than against it. Removing dead and diseased branches first establishes a clear foundation for further work. Always cut just beyond the branch collar—the slight swelling where the branch meets the trunk. This preserves the plant’s natural healing chemistry.
For larger branches, use the three-cut method. First, make an undercut roughly 30 centimetres from the trunk, cutting upward a third of the way through. Next, cut from above just beyond that point, allowing the branch to drop cleanly. Finally, remove the stub with a precise cut at the collar.
Avoid leaving branch stubs. Don’t remove excessive foliage in one season—this exhausts the plant and slows recovery. Most plants cope best with removing no more than 25 per cent of their canopy annually. Younger plants can handle slightly more; established mature specimens need gentler treatment.
Work methodically around the plant, stepping back frequently to assess your progress. What looks good from one angle might look unbalanced from another. Take your time between cuts—you can always remove more, but you cannot replace branches you’ve already cut.
Precise cuts at the branch collar allow plants to compartmentalise wounds quickly, preventing disease penetration and supporting strong, healthy recovery.
Pro tip: Make your first cut on the side of the plant facing away from you, so you can see exactly where the branch collar is before making your final cut at the trunk.
Step 4: Review and refine pruning outcomes
Pruning doesn’t end when you put down your secateurs. The real work unfolds over weeks and months as your plants respond to your cuts.
In the days immediately after pruning, inspect your cuts closely. Wounds should be clean with no ragged edges or torn bark. If you see torn bark, the cut was too rough—make a mental note for next time. Monitoring the plant’s response to pruning helps you spot problems early before they become serious.
Watch for signs of disease or excessive dieback over the following weeks. Healthy cuts will begin forming a callus—a protective ridge of new tissue. If you notice weeping sap, dark discolouration, or pest activity around cuts, act quickly with appropriate treatment.
Track these indicators as weeks pass:
- New shoots emerging from pruning points indicate good recovery
- Balanced, even growth shows your cuts were well-placed
- Dead or diseased growth that wasn’t removed earlier
- Congestion or crossing branches reappearing
- Overall plant shape and symmetry
By mid-season, new growth should be vigorous and healthy. This is when you assess whether your pruning achieved your goals. Did you succeed in restricting size? Did flowering improve? Is the plant healthier and more balanced?
Refine your approach based on what you observe. If growth is uneven, next season’s pruning can address this. If you removed too much foliage, prune more conservatively next year. If certain branches are re-congesting quickly, you may need to thin more aggressively annually.
Document what you did and how plants responded. Photographs taken before and after pruning create a visual record. Over time, you’ll understand each plant’s individual growth patterns and preferences.
To help review pruning results, consider these common plant responses and how to interpret them:
| Observation | Possible Cause | Action Suggested |
|---|---|---|
| Vigorous new shoots | Successful pruning | Maintain current technique |
| Slow callus formation | Rough cuts or excessive pruning | Adjust tool sharpness, prune less |
| Uneven regrowth | Imbalanced cutting or plant stress | Rebalance future pruning |
| Weeping sap at cuts | Damage or disease entry | Treat wounds, monitor closely |
| Persistent dead tips | Missed diseased wood | Remove remaining affected branches |
Think of pruning as an ongoing conversation with your garden rather than a one-time job. Each season teaches you something new about how your plants respond to cutting.
Observing new growth patterns and plant shape in following seasons reveals whether your pruning strategy succeeded and guides future refinement.
Pro tip: Keep a simple garden notebook recording which plants you pruned, when, and how heavily—seasonal notes about new growth and overall health will help you develop a personalised pruning rhythm for each area of your garden.
Transform Your Garden Pruning Into Bespoke Outdoor Artistry
Garden pruning requires precision, the right tools, and an eye for healthy and sustainable growth. If you find yourself overwhelmed by assessing your plants’ needs or unsure about executing cuts that promote lasting beauty and vitality, Wicked Gardens LTD offers the expert guidance and personalised service you deserve. Our eco-friendly approach aligns perfectly with the sustainable pruning principles discussed, ensuring every snip honours your garden’s wellbeing and long-term health.

Explore tailored garden design, landscaping, and maintenance solutions that go beyond basic pruning. Whether you want expert advice on plant care or a complete transformation of your outdoor space, our award-winning team in London delivers craftsmanship with a high-end finish. Act now to create a thriving bespoke garden where every cut supports growth and elegance. Discover more in our Gardening Archives – Wicked Gardens and take your first step towards your dream garden at Wicked Gardens.
Frequently Asked Questions
What should I assess before pruning my garden plants?
Before pruning, evaluate the type, age, health, and growth habit of each plant, as well as your specific goals. Inspect for dead or diseased wood and consider when the plant flowers, ensuring that your cuts won’t disrupt blooming.
How do I choose the right pruning tools for my garden?
Select pruning tools based on the thickness and type of branches you will be cutting. For example, use by-pass secateurs for precise cuts on branches up to 10 millimetres thick, and loppers for branches between 10 and 25 millimetres.
What is the correct way to execute precise pruning?
Begin by removing dead, diseased, or damaged branches, followed by crossing or rubbing ones. Cut just beyond the branch collar for healthy healing, and avoid trimming more than 25% of the canopy in a single season to prevent plant stress.
How can I monitor the success of my pruning efforts?
Observe the plants over the weeks following pruning. Look for vigorous new shoots and balanced growth; health indicators like callus formation at cuts indicate successful pruning. Document what you see to refine your techniques for future seasons.
What steps can I take to ensure my pruning tools remain effective?
Keep your pruning tools sharp and clean to minimise damage to plants and prevent disease spread. Regularly disinfect blades, oil wooden handles, and ensure tools are stored dry to prolong their lifespan.